

When homeowners start researching roofing installation, the process can feel like a black box. You know a crew is going to show up, tear something off, and put something new on, but what happens in between is rarely explained upfront. Understanding the full roof installation process, how long each phase takes, and what you should be doing as a homeowner throughout makes the entire roofing project less stressful and more predictable. Spartan Home Services walks every Sacramento, CA homeowner through this process before a single tool hits the roof, because an informed customer is the foundation of a project that goes well for everyone involved. Before your first contractor conversation, it helps to understand how a professional roofing crew approaches a job from start to finish.
This blog covers:
- What happens before installation day even begins
- How the tear-off and inspection phase works
- What goes into proper underlayment and decking
- How to install roof shingles and other roofing materials correctly
- What flashing, ventilation, and finishing details involve
- How cleanup and final inspection are handled
- What the full timeline looks like from contract to completion
- What homeowners should do before, during, and after installation
We’re proud to serve homeowners in Sacramento, CA, and nearby communities with residential roofing installation and more.
Why Understanding the Installation Process Matters
Most roofing problems don’t announce themselves on installation day. They show up two years later as a leak in the corner of a bedroom ceiling or a soffit that’s started to sag. By the time a homeowner notices, the underlying issue has usually been present since the day the roof went on. The gap between a roof that lasts 15 years and one that lasts 40 almost always comes down to what happened during installation, not the brand on the shingle packaging.
Homeowners who understand the roof installation process are also better positioned to hold their contractor accountable at every stage. Knowing what should happen and when means you can ask the right questions, catch skipped steps, and make sure the crew on your roof is following the process that actually leads to long-term performance. A homeowner who watches for protruding nails, confirms starter shingles were installed, and checks that drip edge runs clean along the fascia is a homeowner who ends up with a better roof than one who doesn’t know what to look for. The eight steps below cover everything that should happen on a properly executed residential roofing installation.
8 Steps of a Residential Roofing Installation
Every legitimate roofing project follows a defined sequence, and that sequence exists for a reason. Each phase builds on the one before it, and skipping or rushing any step creates compounding problems that don’t surface until long after the contractor has cashed the check and moved on. Most contractors who cut corners do so quietly, which is exactly why understanding the full scope of what a properly run roofing project looks like puts homeowners in a much stronger position when vetting bids and holding a crew accountable.
1. Pre-Installation Planning and Permitting
Before any crew sets foot on your property, your contractor should be pulling the necessary permits and finalizing the material order based on an accurate measurement of your entire roof. Permitting timelines vary by jurisdiction and can range from same-day approvals to several weeks depending on your local authority. This phase also includes confirming the installation date, reviewing the project scope with the homeowner, and setting expectations for how long the roofing project will take.
- Permits: A contractor who skips permits is putting the homeowner at legal and financial risk, not saving time.
- Material confirmation: Final material selection, including roof shingles, drip edge, roofing sealant, and starter shingles, should be locked in before the crew arrives, not decided on the fly.
- Scheduling: A clear start date and estimated completion window should be communicated in writing before work begins.
2. Property Preparation and Protection
The day before or the morning of installation, a professional crew prepares the surrounding area to protect landscaping, vehicles, and exterior surfaces from debris. This includes laying tarps around the perimeter of the home, positioning dumpsters or dump trailers for old shingles and roofing material, and making sure satellite dishes, gutters, and other exterior fixtures are accounted for before tear-off begins.
- Debris management: Roofing nails, shingles, and underlayment come off a roof fast and land everywhere without proper containment.
- Landscape protection: Tarps and plywood sheets protect shrubs, flower beds, and grass from falling debris and equipment damage.
- Access planning: Crew access, equipment placement, and material staging should be organized before work begins.
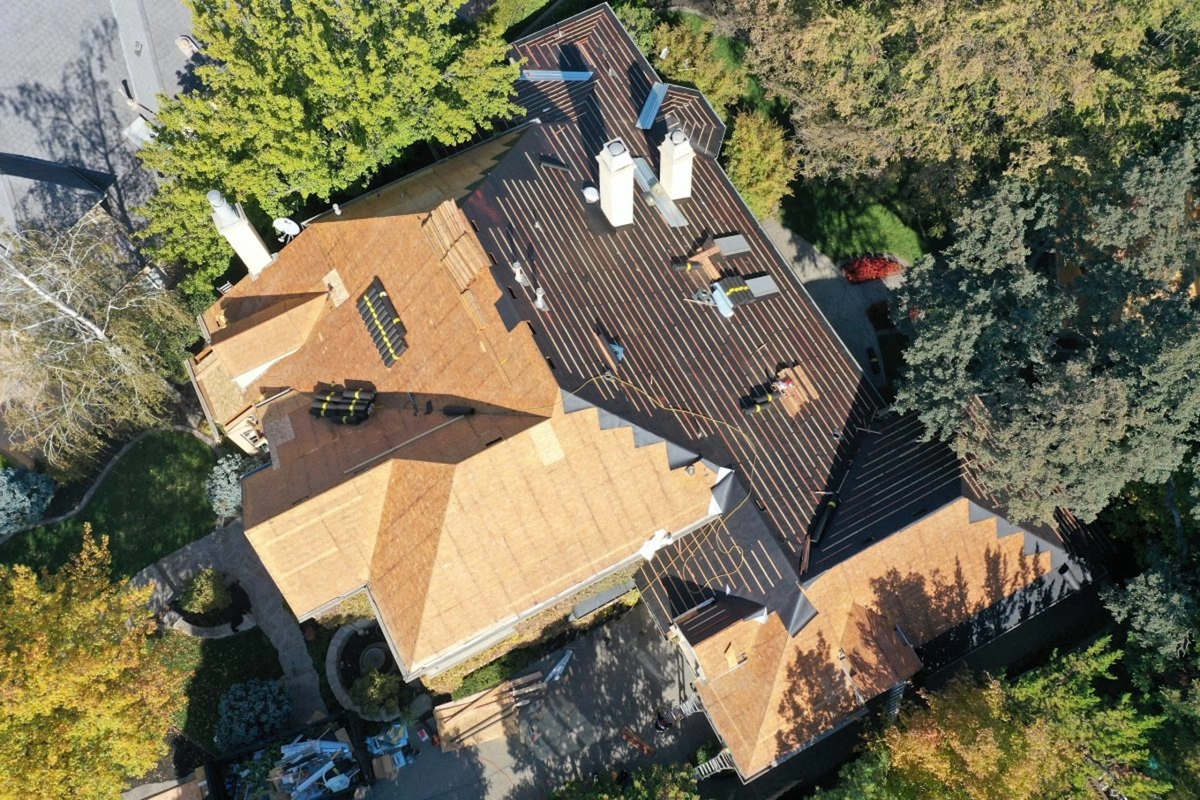
3. Tear-Off and Decking Inspection
Old shingles and roofing material come off first. A full tear-off down to the decking is the standard for a proper roof replacement, and any contractor who suggests installing new roof shingles over existing ones without a compelling structural reason is prioritizing speed over your roof’s long-term performance. Once the old shingles are removed, the decking gets a full inspection across the entire roof before anything new goes on.
According to the Insurance Institute for Business and Home Safety, the structural integrity of roof decking is one of the most critical factors in how well a roof performs during severe weather events. Damaged, rotted, or soft decking sections are replaced at this stage before any new material goes on.
- Full tear-off: Removing all existing layers of old shingles allows for a proper inspection and a clean installation surface.
- Decking evaluation: Any soft spots, rot, or water damage get addressed before they’re covered up by new material.
- Documentation: A reputable contractor documents decking conditions and communicates any additional costs before proceeding.
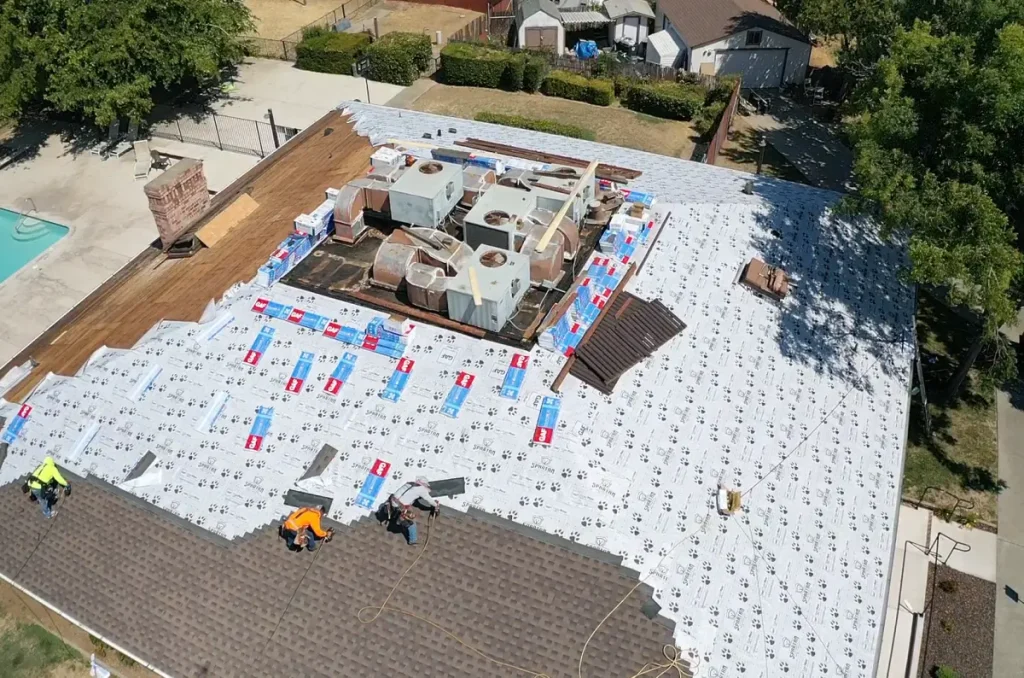
4. Drip Edge and Underlayment Installation
Before underlayment goes down, drip edge gets installed along the eaves and rakes of the entire roof. Drip edge is a metal flashing component installed at the roof edges that directs water away from the roof deck and into the gutters rather than allowing it to seep behind the fascia. Skipping drip edge or installing it out of sequence is one of the most common installation errors most contractors make on lower-quality roofing projects, and it leads directly to fascia rot and water intrusion over time.
Underlayment goes on next. It serves as the moisture barrier between your decking and your roof shingles, and it’s one of the most skipped or cheapened steps in low-quality installations. Synthetic underlayment is the current industry standard and offers significantly better moisture resistance and durability than traditional felt paper.
- Drip edge at eaves: Installed before underlayment so water is directed away from the fascia correctly.
- Drip edge at rakes: Installed after underlayment on the rake edges to create the proper layering sequence.
- Ice and water shield: Applied at eaves, valleys, and penetrations to prevent water intrusion in vulnerable areas.
- Synthetic underlayment: Covers the full roof deck and provides a secondary moisture barrier if shingles are ever compromised.
5. Starter Shingles and Install Flashing
Starter shingles are a purpose-built first row of roofing material installed along the eaves before the field shingles go on. Their primary function is to prevent water infiltration beneath regular shingles at the roof’s most vulnerable edge, where wind-driven rain is most likely to find a gap. They also provide a sealed, adhesive-backed foundation that field shingles bond to, and they are a required component of most manufacturer warranty programs. Skipping starter shingles is one of the most common corners cut on rushed roofing jobs, and it’s one of the first things a knowledgeable homeowner or inspector should look for when evaluating whether a roof was installed correctly.
To install flashing correctly is equally critical to a completed roofing project. Flashing is the metal material installed around chimneys, skylights, vents, and roof-to-wall intersections to direct water away from penetrations. Roofing sealant is applied at all flashing joints and penetration points to create a watertight bond between the metal and the surrounding roofing material. New flashing should be installed on every full roof replacement without exception, and it should be secured, sealed, and inspected before a single field shingle goes on top of it.
- Starter shingles: Create a sealed, adhesive-backed foundation at the eaves that field shingles bond to.
- Step flashing: Installed along roof-to-wall intersections in an overlapping pattern that channels water down and away.
- Chimney and skylight flashing: Should be replaced rather than reused, as old flashing is often corroded or improperly sealed.
- Roofing sealant: Applied at all penetrations and flashing joints to prevent water from finding gaps in the system.
6. Install Roof Shingles
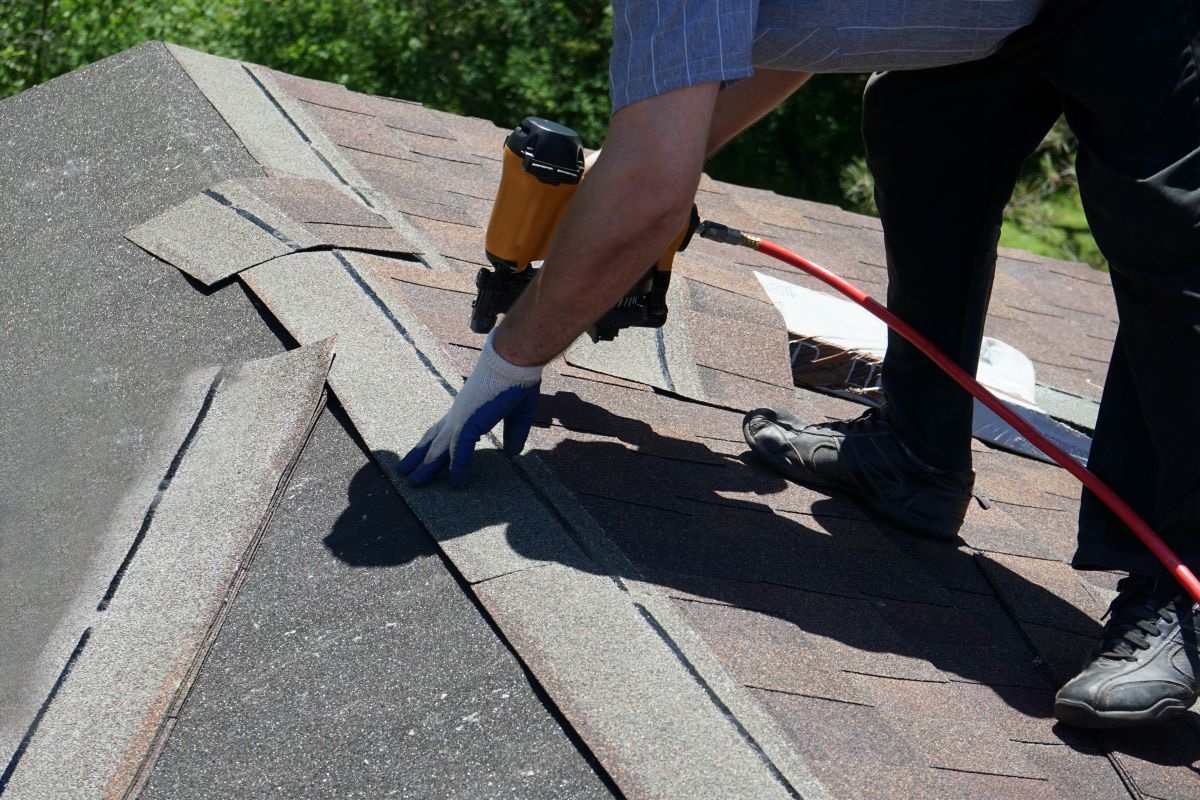
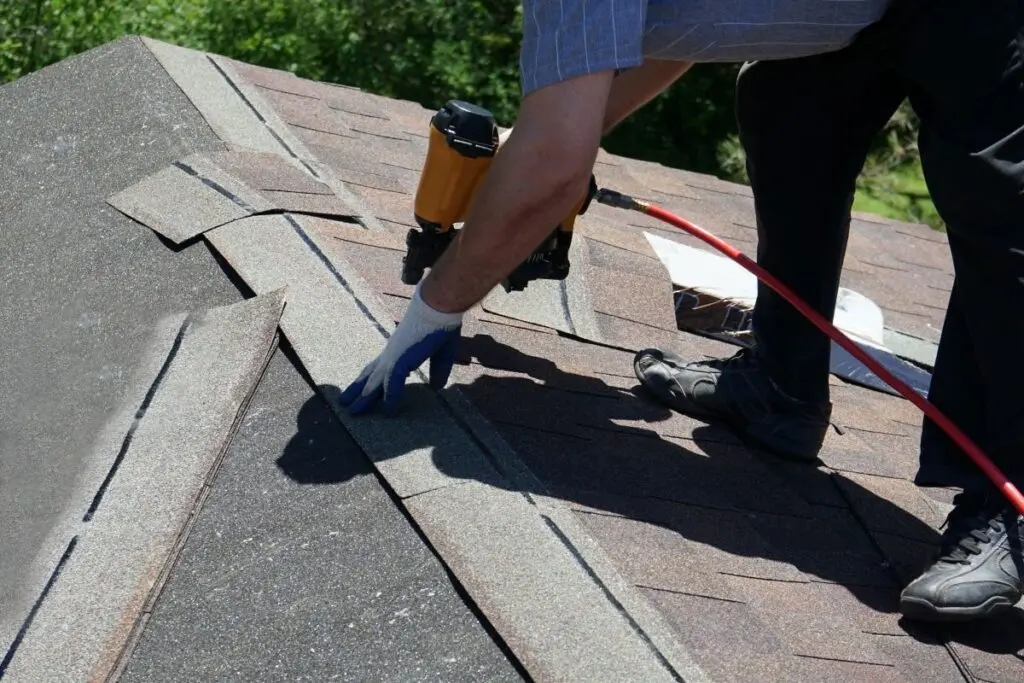
This is the phase most homeowners picture when they think about roofing installation, and it’s where GAF Master Elite certification becomes most visible in practice. To install roof shingles correctly, crews work from the bottom of the entire roof up in overlapping rows, with roofing nails, nailing patterns, and alignment all specified by the manufacturer. Roofing nails must be driven flush to the shingle surface — protruding nails are a direct installation error that compromises shingle performance and can void the warranty. Every course of shingles gets checked for alignment before the next row goes on, because errors that aren’t caught early compound quickly across a large roof surface.
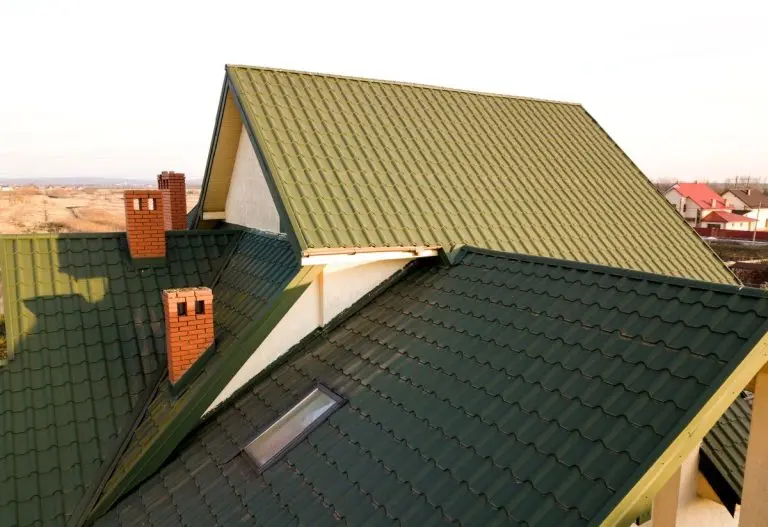
Selecting roofing materials based on both durability and appearance is one of the most important decisions a homeowner makes before installation begins. The right material for your home depends on your climate, your roof’s pitch, your home’s architectural style, and how long you plan to stay in the property. Certain asphalt shingle lines, including reflective series products, are designed to reduce heat absorption and lower cooling costs in warm climates like Sacramento’s, making durability and energy performance equally valid selection criteria.
| Roofing Material | Average Lifespan | Best For | Cost Range |
| Asphalt shingles | 25 to 40 years | Most residential applications | Moderate |
| Tile roofing | 40 to 50 years | Mediterranean and Spanish-style homes | Higher |
| Standing seam metal | 40 to 70 years | Modern and high-performance applications | Higher |
| Synthetic slate | 30 to 50 years | Historic and premium aesthetics | Moderate to high |
7. Ventilation and Ridge Cap Shingles
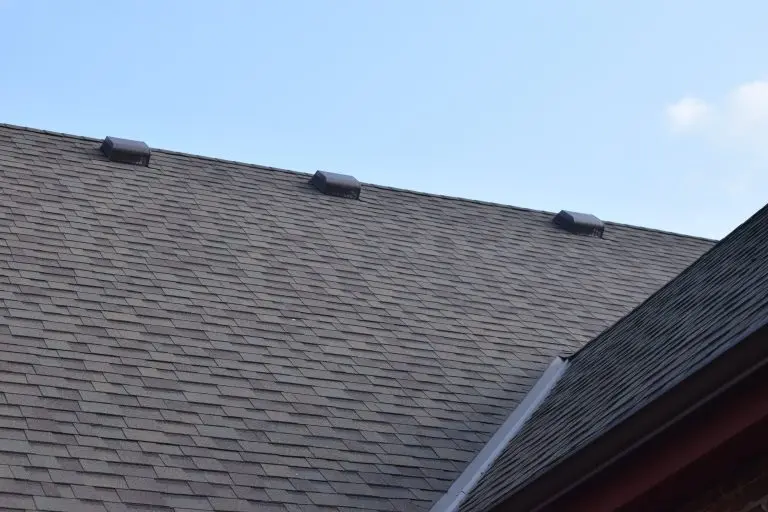
Proper attic ventilation is one of the most overlooked components of a roofing system. Without adequate airflow, heat and moisture build up in the attic and accelerate shingle degradation from the inside out. Ridge vents, soffit vents, and attic baffles all work together to create a balanced ventilation system that extends the life of the roof above them. Ridge cap shingles, installed along the peak of the entire roof using roofing nails and roofing sealant at the joints, seal the top edge while allowing air to escape and complete the weather envelope of the system. Most contractors use purpose-built ridge cap shingles rather than cutting field shingles down, and the difference in performance and longevity is significant.
- Ridge cap shingles: Purpose-built cap pieces installed at the peak that seal the roof’s highest point against wind and water.
- Ridge vents: Run the length of the roof peak and allow hot air to exit the attic continuously.
- Soffit vents: Allow cooler outside air to enter at the eaves, creating the airflow that makes ridge vents effective.
- Balanced systems: Intake and exhaust ventilation must be balanced to prevent negative pressure and moisture buildup.
8. Cleanup, Final Walkthrough, and Inspection
A professional roofing crew leaves the property cleaner than they found it. Magnetic nail sweeps, thorough debris collection, and a full perimeter check for protruding roofing nails and loose material are standard at the end of every roofing project. Once cleanup is complete, the project concierge or project manager conducts a final walkthrough with the homeowner to confirm the work matches the agreed scope and address any questions before the job is officially closed out.
- Magnetic sweep: Catches loose roofing nails in grass, landscaping, and driveways that are invisible to the naked eye.
- Fascia check: The fascia and drip edge are inspected to confirm proper water routing and no damage from installation.
- Final inspection: A walkthrough with the homeowner ensures every detail of the project scope was delivered as agreed.
- Documentation: Warranty paperwork, permit sign-offs, and project records should be provided to the homeowner at job completion.
Roofing Installation Timeline: What to Expect
Understanding how long each phase of a roofing project takes helps homeowners plan around the work and set realistic expectations before signing a contract. Timelines vary based on roof size, material type, permitting jurisdiction, and weather conditions, but the ranges below reflect what most residential roofing installations look like from start to finish. The biggest variable for most homeowners is the gap between contract signing and installation day, which is almost entirely driven by permitting and material lead times rather than contractor scheduling.
| Phase | Typical Timeframe |
| Permitting | 1 day to 3 weeks depending on jurisdiction |
| Material ordering and delivery | 3 to 10 business days |
| Installation | 1 to 3 days for most residential roofs |
| Final inspection and sign-off | Same day as installation completion |
| Warranty processing | 2 to 4 weeks after installation |
Frequently Asked Questions About Roofing Installation
Homeowners going through the roof installation process for the first time tend to have the same questions, and getting clear answers upfront makes the whole project run more smoothly. The responses below reflect what experienced roofing contractors consistently recommend and what comes up most often when homeowners research the process before committing to a contractor.
Do I need to be home during roof installation?
You don’t need to be present for the entire installation, but being available on the first morning is helpful. That’s when the crew does their final walkthrough of the scope, confirms access to the property, and addresses any last-minute questions. Your project concierge should be reachable throughout the day if anything comes up that requires a decision.
Will a new roof installation be loud?
Yes. The roof installation process involves nail guns, heavy equipment, and material being dragged across the roof surface. Plan for noise throughout the workday and consider arrangements for pets or young children who might be sensitive to it.
Can roofing installation happen in the rain?
Most roofing installation should not happen in active rain. Wet decking and underlayment compromise the integrity of the installation and create moisture problems that show up later. A reputable contractor monitors weather forecasts and reschedules rather than pushing through conditions that put the roofing project at risk.
How do I know if my roof installation was done correctly?
The clearest indicators are documentation, permits, and a final walkthrough with your contractor. If your contractor pulled permits, the work will be subject to a municipal inspection. Beyond that, your project documentation should include manufacturer warranty registration, which confirms the installation met the specifications required for full coverage. A properly completed roof installation will have no protruding roofing nails, clean drip edge along the fascia, ridge cap shingles running the full length of the peak, and roofing sealant visible at all penetrations and flashing joints.
Spartan Home Services Makes Every Step Count
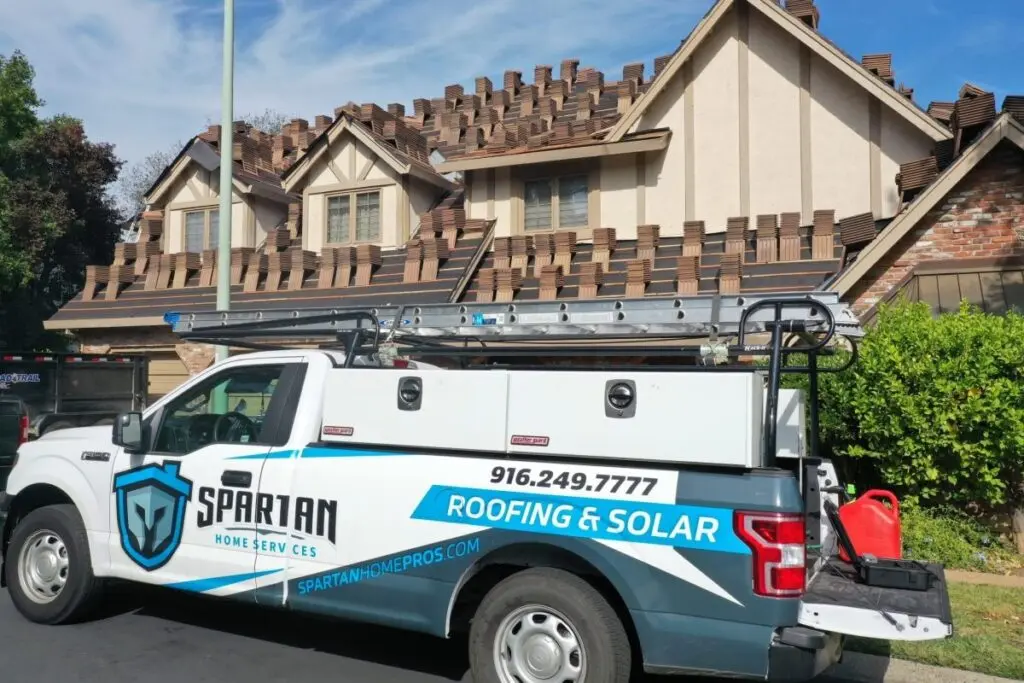
A roofing installation is only as good as the process behind it, and the process is only as good as the crew following it. Spartan Home Services brings GAF Master Elite certification, dedicated concierge management, and a step-by-step approach to every roofing project we take on across the Sacramento area. Every phase covered in this blog is a phase we take seriously, from starter shingles and drip edge to ridge cap shingles and roofing sealant at every joint, because a roof installed right the first time is the only outcome worth delivering. When you’re ready to get started, reach out to our team and we’ll walk you through what the roof installation process looks like for your specific home.