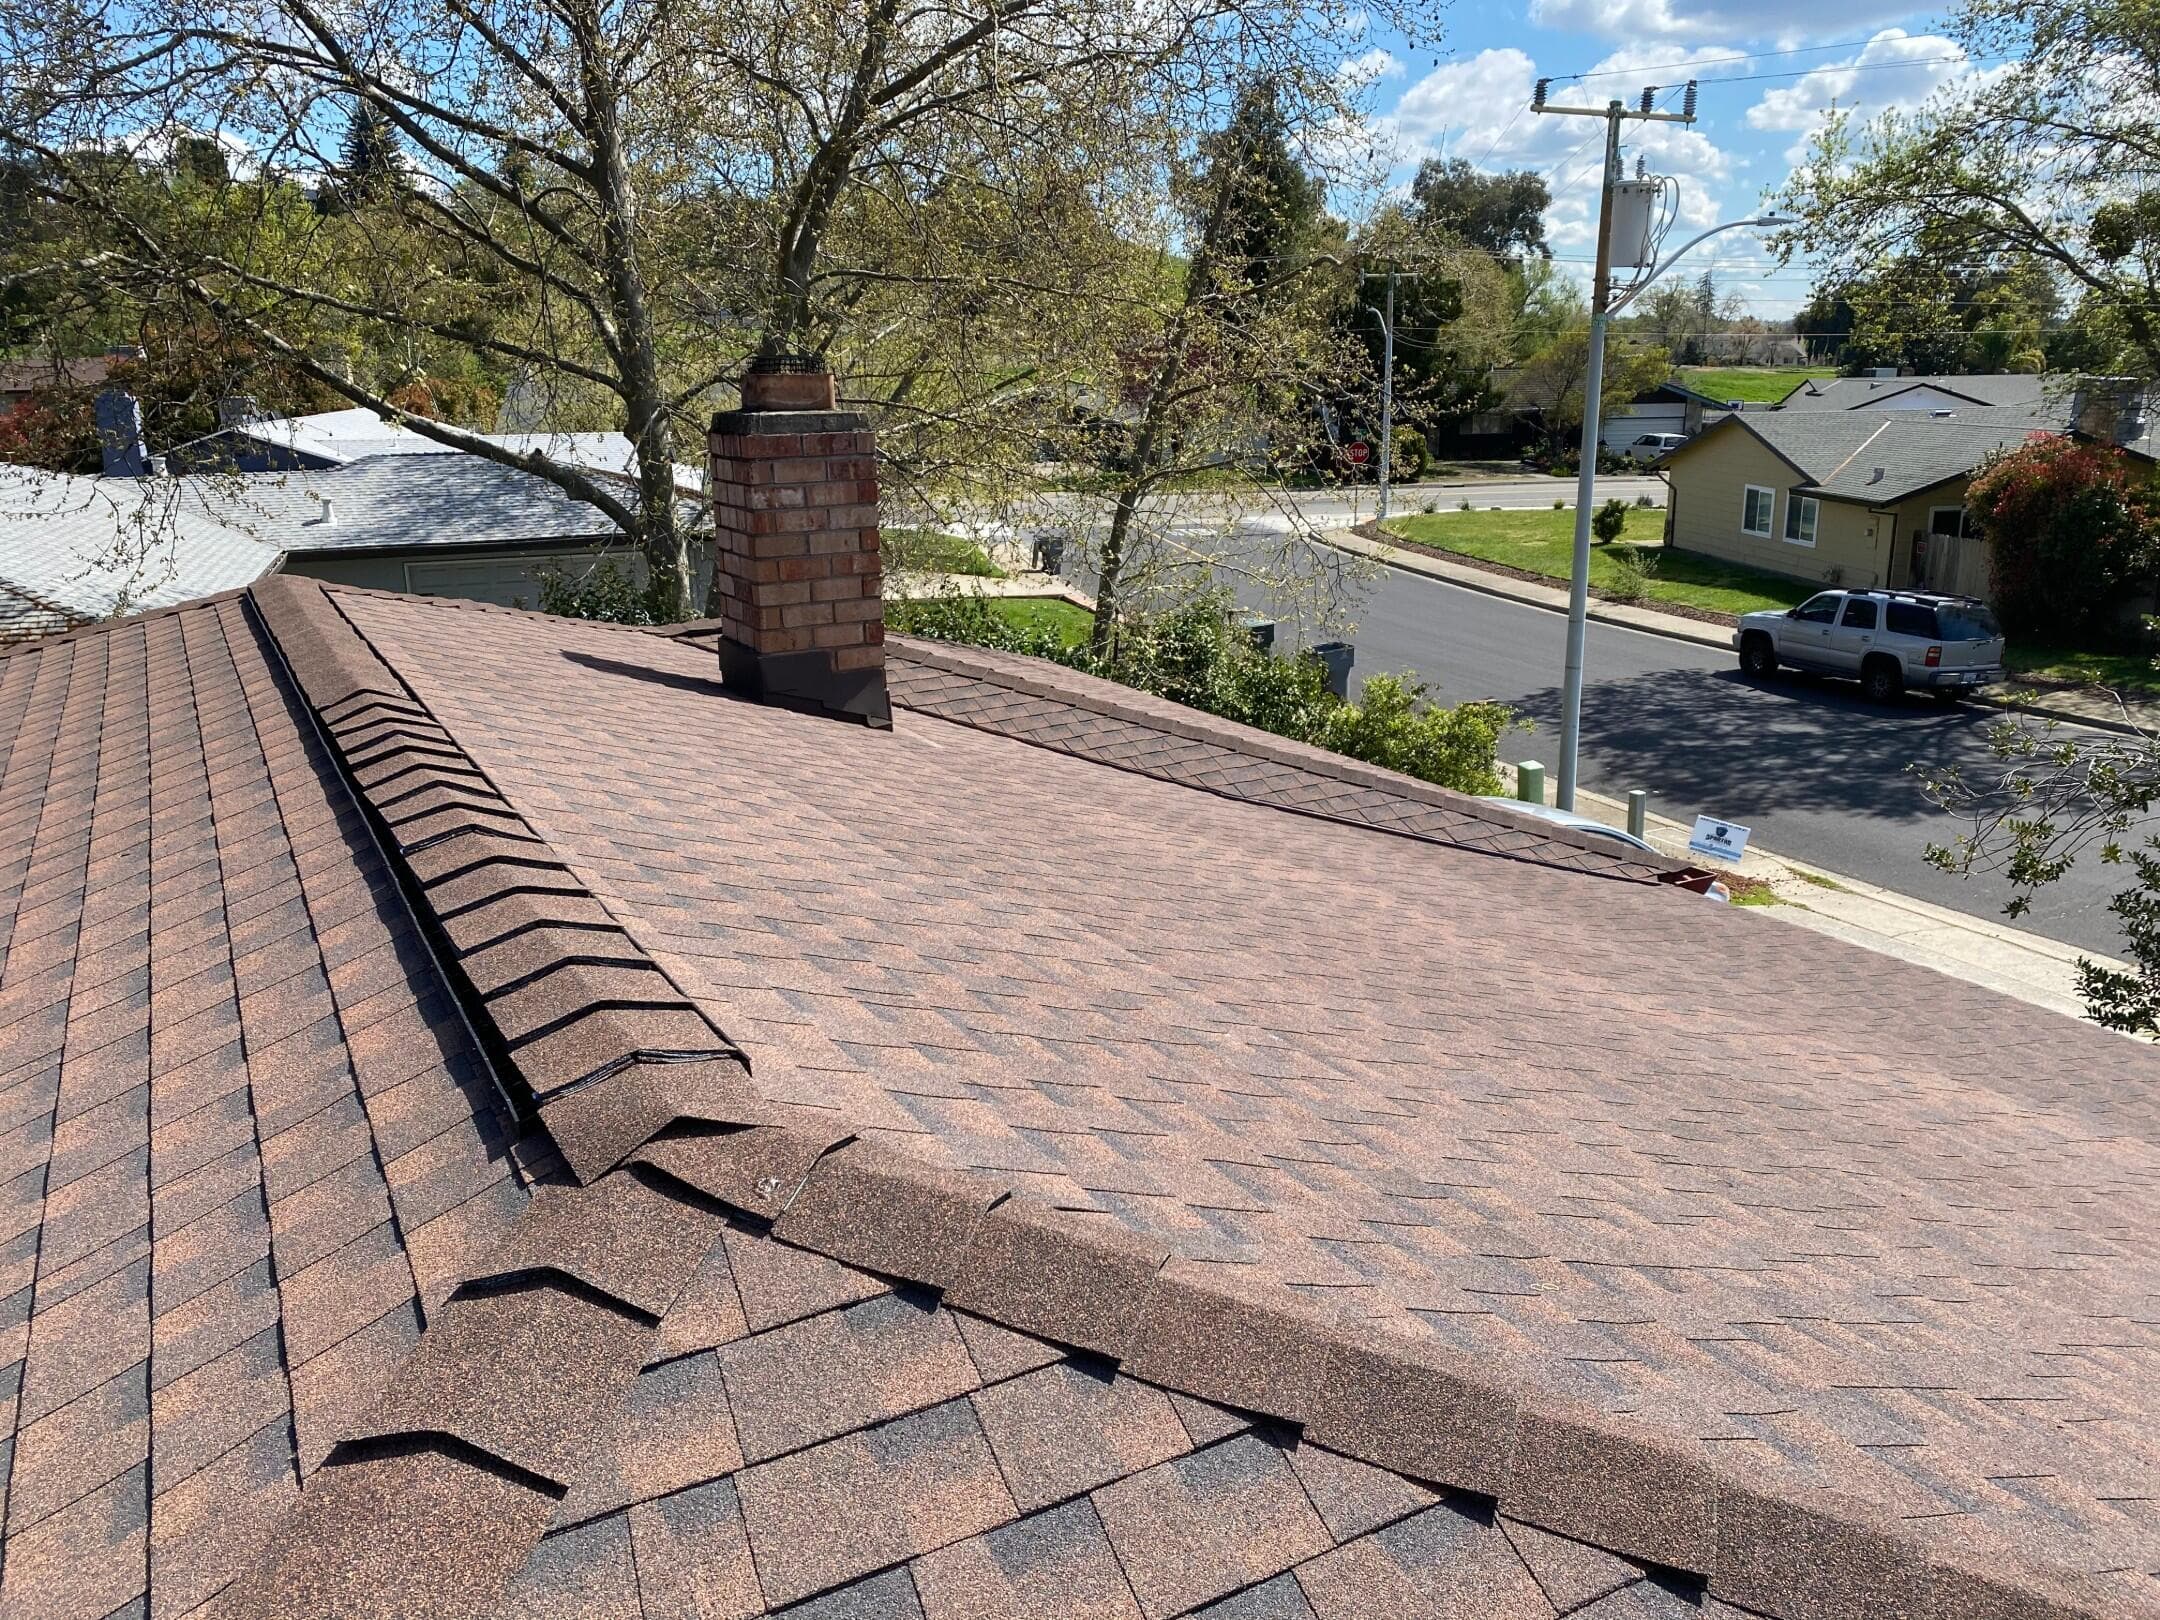
Most homeowners only ask what is the flashing on a roof after a leak shows up on the ceiling, but the answer explains why so many leaks start in the same few places. Flashing is thin metal installed wherever the roof surface is interrupted by a wall, a valley, a chimney, or a pipe, and it is the part of the system that actually keeps water out at those joints. Shingles shed water across open slopes, while flashing handles the places where shingles alone cannot. If you want to see the flashing and waterproofing details on every Spartan installation, that is worth reviewing before you compare estimates.
This blog covers:
- What roof flashing is and what it is made of
- The 7 types of flashing and where each one is used
- Why flashing is the first place leaks tend to appear
- How to check your own flashing from the ground
We’re proud to serve homeowners in Roseville, CA, and nearby communities with residential roofing services and more.
What Roof Flashing Is and Why It Matters
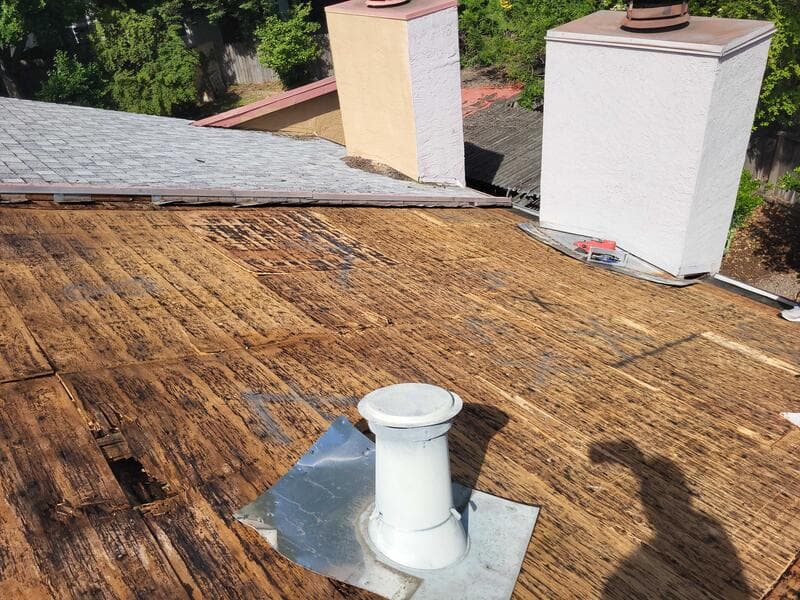
Flashing is a barrier, usually metal, that directs water away from the joints and intersections of a roof. Where a roof meets a vertical wall, wraps a chimney, or changes direction at a valley, there is a seam that shingles cannot seal on their own. Flashing covers that seam and sends water down onto the next shingle course and eventually into the gutter. Drip edge is also a type of flashing, but it works along the roof perimeter and has its own role in the system.
The stakes are high. According to Roofing Contractor magazine, improper flashing is the single leading contributor to up to three-quarters of all roof failures. That figure comes from the commercial side of the industry, but the principle carries over to homes, because every roof has the same vulnerable joints.
Most residential roof flashing materials are galvanized steel, aluminum, or copper, and each type of metal flashing has trade-offs. Galvanized steel is the most common and the most economical. Aluminum resists corrosion and is easy to shape, though it can react badly with certain masonry and cement products. Copper is the premium choice and can outlast the roof around it. In Roseville’s climate, where summer heat expands the metal and the rainy season tests every seam, the quality of the flashing materials and the way they are fastened both matter.
7 Types of Roof Flashing Explained
Each type below solves a different problem, and a typical roof uses several of them. The names can sound interchangeable, so the descriptions focus on where each one goes and what it prevents.
1. Step Flashing
Step flashing is the most common wall flashing and is made of small, L-shaped pieces installed one at a time along the line where a sloped roof meets a vertical wall, such as a dormer or a second-story sidewall. Each piece overlaps the one below it, is fastened to the roof deck, and is woven under a shingle course, which creates a stepped path that carries water down and out.
- Where it goes: Roof-to-sidewall intersections and along dormer walls.
- What it prevents: Water running behind the siding and into the wall cavity.
2. Counter Flashing
Counter flashing is the second layer that covers the top edge of another flashing, such as step flashing or the base flashing at a chimney. It is usually set into a groove in the masonry or tucked under the siding, which shields the upper edge of the lower piece from water and lets the two move independently as the house shifts and the metal expands.
- Where it goes: Over base and step flashing at chimneys and masonry walls.
- What it prevents: Water getting behind the top edge of the lower flashing.
3. Valley Flashing
A valley is where two roof planes meet and form a channel, and it carries more water than any other part of the roof. Valley flashing lines that channel with a continuous metal or membrane layer. Open valleys leave the metal exposed, while closed valleys cover it with shingles.
- Where it goes: The channel where two sloping roof planes meet.
- What it prevents: Heavy runoff working its way under the shingles at the roof’s busiest drainage path.
4. Apron Flashing
Apron flashing is a single, long piece of bent metal installed where the bottom edge of a vertical wall meets the roof surface, or at the base of a chimney. It is sometimes called headwall flashing. The vertical leg runs up the wall and the horizontal leg rests on the roof, directing water onto the shingles below.
- Where it goes: Where a sloped roof runs into the face of a wall, or at the downslope side of a chimney.
- What it prevents: Water entering at the joint where the roof ends against vertical siding.
5. Kick-Out Flashing
Kick-out flashing, also called a diverter, is a small angled piece installed at the bottom of a step flashing run where a roof meets a wall. It kicks water away from the wall and into the gutter. Without it, water that has traveled down the step flashing can pour straight down the siding behind the gutter.
- Where it goes: At the lower end of a roof-to-wall intersection, next to the gutter.
- What it prevents: Hidden wall damage and rot that can go unnoticed for years.
6. Vent Pipe Flashing
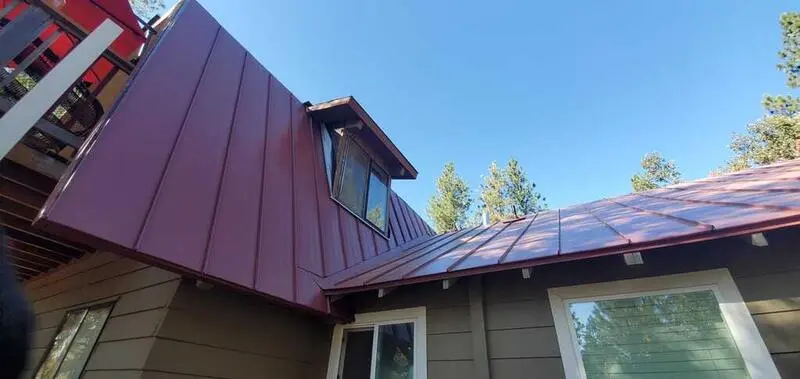
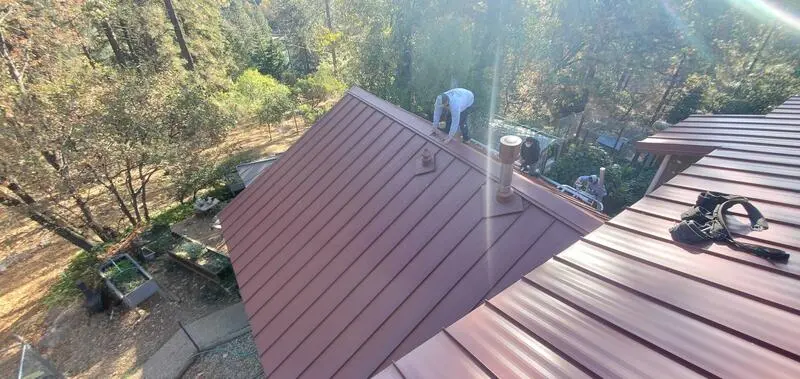
Plumbing vents and exhaust pipes come up through the roof, so each one needs flashing. A typical vent pipe flashing has a base that sits flush with the roof and a rubber or neoprene collar, called a boot, that seals around the pipe. The rubber ages in the sun and cracks before the metal does, which makes it one of the most common leak sources on older roofs.
- Where it goes: Around every plumbing vent, exhaust pipe, and similar penetration.
- What it prevents: Leaks around round penetrations, which are among the easiest to miss and the cheapest to fix.
7. Chimney and Skylight Flashing
Chimney flashing and skylight flashing are the most complex on the roof because both openings interrupt it on all sides. A chimney typically gets step flashing along its sides, apron flashing at its base, counter flashing set into the masonry, and a small peaked structure called a cricket on the uphill side to split the water flow. Skylights use a manufacturer-specific flashing kit sized to the frame.
- Where it goes: All four sides of a chimney or skylight opening.
- What it prevents: Leaks at the largest and most complex openings in the roof, where a failure in any one layer can let water in.
What Proper Flashing Installation Looks Like
Good flashing depends less on the metal itself than on the order in which it is layered. Water only moves downhill, so every piece has to overlap the one below it, with the upper layer always sitting on top of the lower layer. When a roofer reverses that order at even one joint, water can run underneath the metal instead of over it, and the leak will show up long after the crew has left.
A few details separate a durable installation from a shortcut:
- Shingle and metal layering: Flashing sits under the shingles above it and over the shingles below it, so water is always shed outward.
- Fastening above the water line: Nails belong high on the flashing where water does not flow, since exposed nail heads in the wet zone become leak points.
- Sealant as backup: Roofing cement can supplement a correct installation, but it should never be the primary barrier. Sealant dries and cracks in Sacramento Valley heat, while metal and proper overlap hold up.
- Replacement, not reuse: Old flashing is often corroded, bent, or sealed in a way that cannot be undone. New shingles deserve new flashing.
- Compatible metals: Mixing certain metals, such as aluminum against fresh masonry, can cause corrosion that shortens the life of the flashing.
On a concrete tile roof, the details change because tile sits higher off the deck and needs flashing sized to its profile, which is one reason experience with the specific material matters in Roseville’s newer subdivisions.
Signs Your Roof Flashing Needs Attention
Flashing often fails quietly, and the signs are easiest to spot from the ground or the attic. Watch for these:
- Water stains near walls or chimneys: Ceiling stains in the corner of a room or near a fireplace often trace back to flashing.
- Visible rust or gaps: Rusted, bent, or separated metal along a chimney or wall is past its service life.
- Cracked sealant: Roofing cement or caulk that has dried out and pulled away from the metal no longer seals the joint.
- Cracked rubber boots: Pipe boots that have split or hardened should be replaced before the next rainy season.
Flashing repairs are usually modest compared with the damage a leak can cause, which is why catching them early matters.
Frequently Asked Questions About Roof Flashing
These are the questions Roseville homeowners most often ask when flashing comes up during an inspection or estimate.
Can I repair roof flashing myself?
Minor sealant touch-ups are within reach for some homeowners, but replacing flashing means lifting shingles and rebuilding the overlap pattern, which is easy to get wrong. A failed repair can leave a leak that looks fixed from below. Anything beyond sealing a small gap is better left to a licensed roofer.
How long does roof flashing last?
Galvanized steel and aluminum flashing typically last 15 to 30 years depending on exposure, while copper can last much longer. Sealants and rubber pipe boots wear out sooner, often within 10 to 15 years, so they are usually the first parts to need attention.
Should flashing be replaced during a roof replacement?
Yes. Reusing old flashing under new shingles is one of the most common shortcuts in roofing, and it undermines the new roof. Flashing is inexpensive relative to the total project, and replacing it at the same time protects the investment.
Schedule a Flashing Assessment With Spartan
Flashing is where small installation details decide whether a roof lasts or leaks. Spartan Home Services installs flashing to GAF Master Elite standards across the Sacramento and Fairfield service areas and replaces it as a standard part of every reroof. Schedule a flashing assessment and we will check every joint and penetration on your roof before recommending anything.