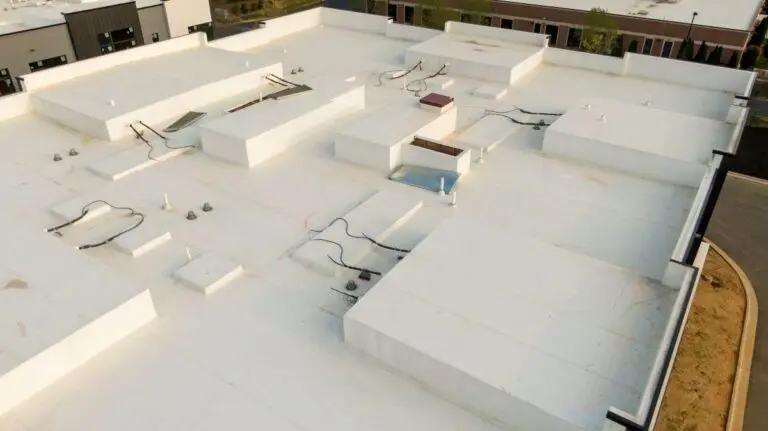


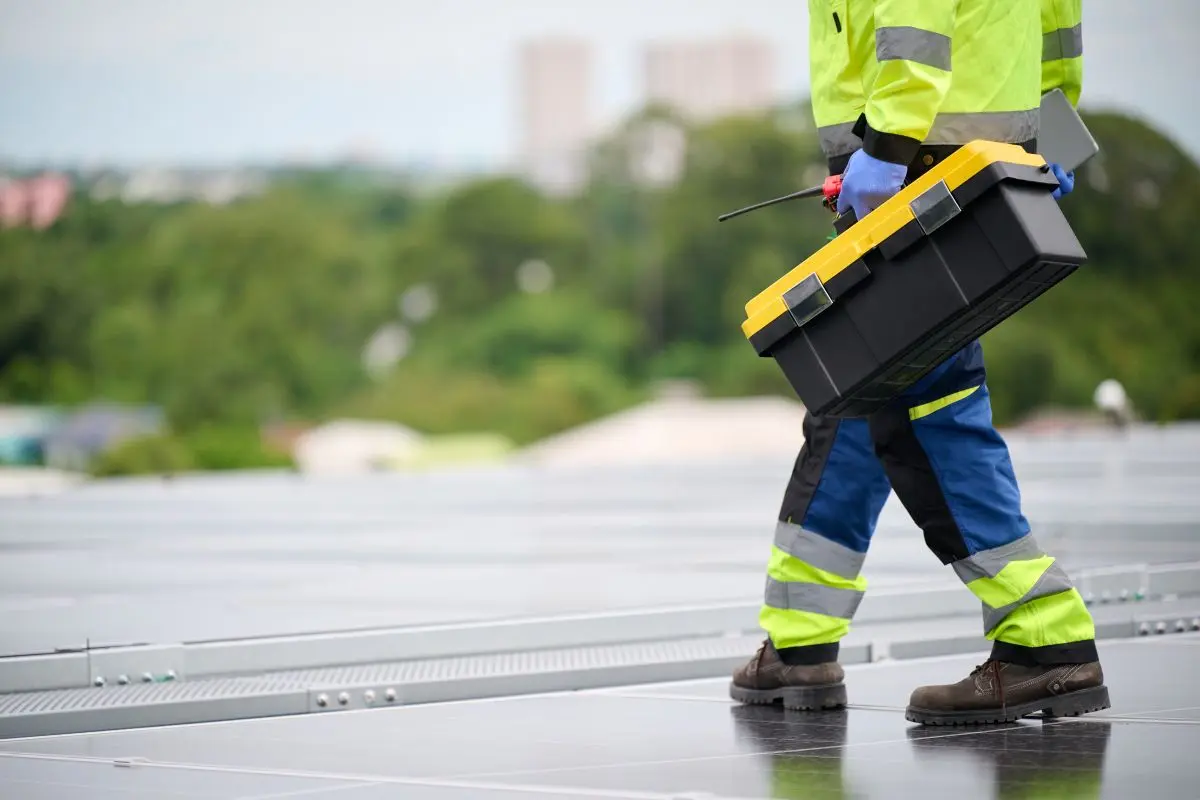
A commercial roof inspection is not a casual walk across a flat roof with a flashlight. It is a structured process designed to document the condition of every component in the roofing system, identify failure modes that are not visible from the exterior, and produce findings that support maintenance decisions, insurance documentation, and capital planning. Understanding what a professional inspection involves helps building owners and property managers evaluate the quality of the inspection they receive and know whether the report they are handed reflects the actual condition of their roof. If you want to understand Spartan’s commercial roofing services and standards before scheduling an inspection, that context is useful first.
This blog covers:
- Why commercial roof inspections matter for Northern California building owners
- The 8 steps a professional inspection crew follows from site access through report delivery
- What each step is designed to find and why it matters
- How inspection findings connect to maintenance, warranties, and insurance documentation
We’re proud to serve commercial property owners in Vallejo, CA, and nearby communities with commercial roofing inspection and repair services and more.
Why Commercial Roof Inspections Matter More Than Most Building Owners Expect
Commercial roofs fail gradually, and the visible signs of failure almost always lag significantly behind the actual deterioration happening in the membrane, flashing, and substrate beneath the surface. According to the Insurance Information Institute, more than one-third of commercial property insurance claims stem from wind or hail damage, most of which involve roof-related losses. Proactive inspections that identify vulnerabilities before a weather event produces a claim, or before a claim is denied due to deferred maintenance, are one of the most cost-effective tools available to commercial building owners and property managers in Northern California.
Most roofing professionals recommend inspecting a commercial roof at least twice per year: once in late summer before California’s rainy season begins, and once in spring after the season ends. The National Roofing Contractors Association supports this biannual inspection process as the standard for proactive commercial roof maintenance. Roofs over 15 years old should be inspected with greater scrutiny, and an infrared moisture scan should be added to the routine assessment at least every three to five years. Addressing findings early consistently costs less than the costly repairs that result from deferred maintenance.
8 Steps a Professional Commercial Roof Inspection Crew Follows
A qualified commercial roof inspector follows a systematic process that covers every component of the roofing system. The steps below reflect industry-standard practice for low-slope and flat commercial roof inspections, which represent the majority of commercial buildings in the Sacramento Valley and Fairfield area.
1. Pre-Inspection Documentation and Site Review
Before any inspector accesses the roof, the pre-inspection phase establishes the baseline against which the current condition is measured. This includes reviewing existing documentation: previous inspection reports, repair records, permit history, warranty documentation, and any manufacturer specifications for the installed roofing system. Without this baseline, an inspector cannot determine whether a condition is new, pre-existing, or a known recurring issue.
For buildings with no prior inspection documentation, the pre-inspection phase includes a review of building records, the approximate installation date of the current roofing system, and any tenant or occupant reports of water intrusion that have not been formally documented. Spartan Home Services conducts this review as part of every commercial inspection engagement before the crew accesses the roof.
- What this step produces: A documented baseline of the roof’s known history, including prior repairs, warranty status, and any unresolved reported issues.
- Why it matters: Inspectors who skip this step cannot distinguish deterioration from prior damage, which leads to incomplete or inaccurate condition assessments.
2. Ground-Level and Perimeter Exterior Assessment
The inspection begins at ground level with a perimeter walk of the building exterior. This assessment evaluates the drainage system visible from grade, including downspouts, scuppers, and above-grade drainage outlets. It also documents any visible staining on exterior walls below the roofline, efflorescence on masonry, or paint damage that indicates water escaping the roofing or flashing system.
The exterior perimeter assessment often reveals water intrusion points that are not visible from the roof surface itself. Water that enters at a failed flashing transition can travel along structural members and exit the building envelope at a location far from the actual entry point. Identifying exterior staining patterns helps direct the roof-level inspection toward the most likely failure zones.
- What this step produces: A mapped record of exterior water intrusion indicators and drainage system condition from grade.
- Why it matters: Ground-level indicators often reveal active or prior water intrusion that would not be identified from the roof surface alone.
3. Interior Inspection for Water Intrusion Evidence
Before accessing the roof, a thorough commercial inspection includes an interior walkthrough of the building, particularly in attic or plenum spaces, mechanical rooms, and any areas below reported wet spots or visible ceiling staining. Water that enters through the roof frequently travels along structural members before appearing at the ceiling surface, and the interior evidence often reveals the migration path from entry point to visible damage.
Interior inspection also identifies potential safety hazards on the roof above. Saturated insulation adds significant weight to a deck that may already be near its structural limit, and locating concentrated wet areas from below helps inspectors prioritize structural caution during the roof-level assessment.
- What this step produces: Mapped interior water intrusion indicators, including staining locations, mold presence, and any evidence of structural moisture saturation in the deck or insulation.
- Why it matters: Interior evidence is frequently the most accurate indicator of active versus historic water intrusion.
4. Roof Surface Membrane Assessment
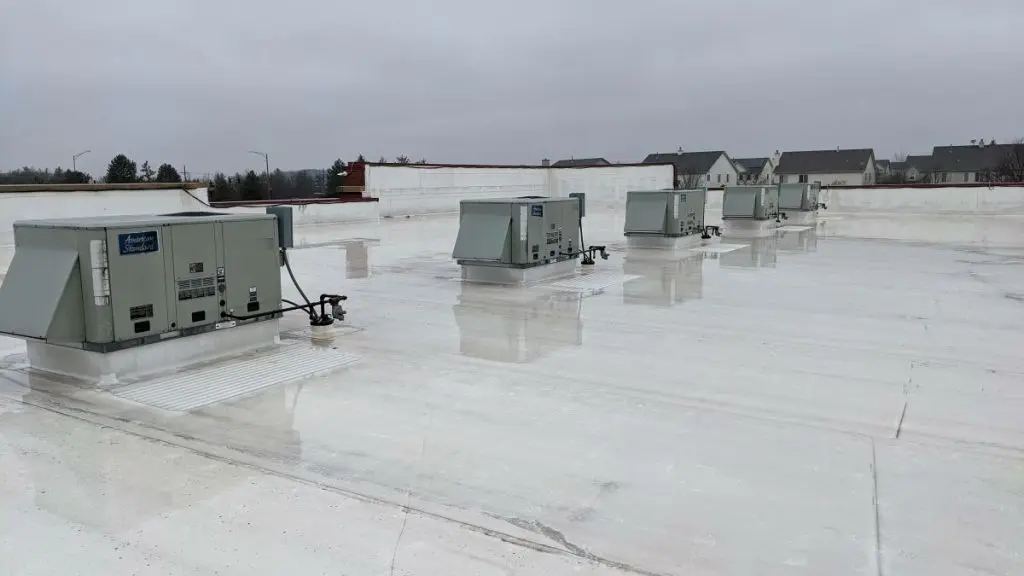
Once on the roof, a licensed roofing contractor evaluates the condition of the primary roofing membrane across the full roof surface. For TPO, EPDM, and PVC systems, this includes checking for seam integrity, membrane shrinkage, blistering, punctures, and areas of accelerated granule loss or surface oxidation. For modified bitumen and built-up systems, the assessment covers surface cracking, alligatoring, blister formation, and the condition of the surfacing material. Any roof damage identified at this stage is photographed and mapped with location references for the final report.
California’s Title 24 (2025 cycle, effective January 1, 2026) requires minimum aged solar reflectance and thermal emittance values for nonresidential low-slope roofs. An inspection on a roof approaching the threshold for a reroofing project should document whether the current membrane meets these requirements, as non-compliant surfaces trigger cool roof upgrades when replacement thresholds are crossed.
- What this step produces: A documented assessment of membrane condition across the full roof surface, including photographs of all identified deficiencies.
- Why it matters: Membrane condition determines both the current risk of water intrusion and whether the system qualifies for a coating restoration or requires full replacement.
5. Flashing and Penetration Inspection
Flashing is the most common failure initiation point on commercial flat roofs, and flashing roof repair is among the most frequent outcomes of a completed inspection. The inspector evaluates all flashing transitions: base flashing at parapet walls, counter flashing at wall-to-roof transitions, pipe boot and penetration flashings, curb flashings around rooftop equipment, and any expansion joint covers across the roof surface. Each is assessed for sealant condition, adhesion, separation, rust, and physical integrity.
Rooftop penetrations include HVAC curbs, plumbing vents, gas lines, conduit, and any roof-mounted equipment. Each penetration is a potential water entry point and requires individual assessment. Equipment curbs that have settled or shifted, or where the sealant at the curb-to-membrane transition has failed, are among the most common sources of commercial roof leaks in the Sacramento Valley market.
- What this step produces: A complete inventory of all flashing and penetration conditions, with specific documentation of any separation, sealant failure, or physical damage.
- Why it matters: Flashing failures account for the majority of active commercial roof leaks, and identifying them early prevents progressive damage to the substrate and interior.
6. Drainage System Assessment
Commercial flat and low-slope roofs depend entirely on a functional drainage system to prevent ponding water. The inspector evaluates every internal drain, scupper, and overflow outlet for blockage, debris accumulation, drain dome integrity, and the slope of the roof surface toward each drain. Areas of chronic ponding are identified and mapped, since standing water accelerates membrane degradation and, in TPO and EPDM systems, increases seam failure risk.
In the Sacramento Valley, the transition from prolonged summer drought to concentrated winter rainfall creates a seasonal drainage stress test. Roofs that accumulate debris during the dry season and then receive the first heavy rains without cleaning face the highest ponding risk. Inspectors also note the condition of downspouts and scupper outlets visible from the roof edge.
- What this step produces: A drainage system assessment documenting all drain locations, identified blockages, ponding areas, and scupper conditions.
- Why it matters: Ponding water is both a current accelerant of membrane deterioration and a structural loading concern. Sustained ponding adds approximately five pounds per square foot per inch of water depth to the roof deck.
7. Infrared or Moisture Scan Assessment
A visual inspection cannot identify moisture that has been absorbed into the roof insulation or substrate beneath an intact-appearing membrane. Infrared thermography addresses this gap by detecting temperature differentials created by wet insulation retaining heat after sunset while dry insulation cools. An infrared scan conducted in the evening after a day of solar exposure maps these thermal anomalies, identifying moisture-saturated zones before they produce visible damage.
Infrared scanning is not required at every inspection, but it should be included for roofs over 15 years old, roofs with a history of reported leaks without confirmed source identification, and any roof where a restoration coating or replacement decision is being evaluated. The scan results allow inspectors to quantify the moisture-affected percentage of the roof area, which directly informs whether a coating or full replacement is the appropriate solution.
- What this step produces: A thermal map of the roof surface identifying moisture-saturated zones, with affected area quantified as a percentage of total roof area.
- Why it matters: Wet insulation beneath an intact membrane is invisible from the surface but accelerates structural deck degradation and adds significant weight to the roof system.
8. Documentation, Reporting, and Recommendations
The final step of a professional commercial roof inspection is the delivery of a documented report that translates all findings into actionable information. A complete inspection report includes: photographs of all identified deficiencies with location references, a condition rating for each major roof system component, an estimated remaining useful life for the current system, specific repair recommendations with priority levels, and a replacement timeline recommendation when applicable.
The report should also address warranty status and document any conditions that may void existing coverage, Title 24 compliance status relative to current code requirements, and any findings relevant to pending insurance renewal or property transactions. Having a roof inspected on a documented schedule protects building owners from costly repairs by catching deterioration before it advances to the point of system failure. For building owners in Vallejo, Fairfield, and Sacramento area markets, this documentation is frequently required by insurance carriers at renewal for commercial properties with roofs beyond a certain age.
- What this step produces: A complete written inspection report with photographic documentation, component-level condition ratings, prioritized repair recommendations, and a system-level life expectancy assessment.
- Why it matters: A report without actionable findings and priority recommendations provides documentation without decision support, which is the primary value of the inspection for a building owner or property manager.
Frequently Asked Questions About Commercial Roof Inspections
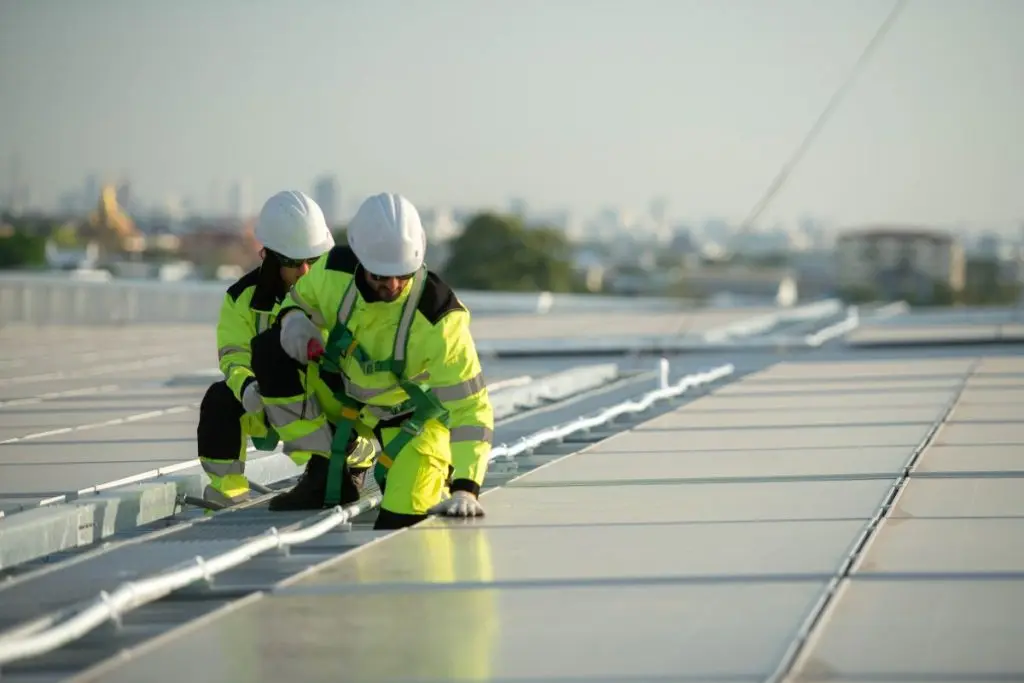
These questions reflect what Northern California building owners and property managers most consistently ask before scheduling a commercial roof inspection.
How long does a commercial roof inspection take?
A standard visual inspection of a 10,000 to 20,000 square foot roof typically takes two to four hours on the roof surface, with additional time for interior assessment and documentation. Larger roofs, complex systems with extensive equipment penetrations, or inspections that include infrared scanning take longer. Full report delivery typically follows within two to five business days.
How much does a commercial roof inspection cost in California?
Visual inspections for smaller commercial roofs under 10,000 square feet typically run $500 to $1,000. Comprehensive assessments with infrared scanning run $1,500 to $2,500 or more depending on roof size and complexity. The cost of a thorough inspection is consistently a fraction of the deferred maintenance costs or insurance complications that result from skipping one.
What triggers a requirement for a commercial roof inspection in California?
Inspection documentation is commonly required by insurance carriers at policy renewal for commercial properties with roofs beyond a certain age, by lenders as part of commercial property due diligence, by local building authorities when reroofing projects exceed certain thresholds, and by property management standards for facilities with active maintenance programs.
Schedule a Commercial Roof Inspection With Spartan
Spartan Home Services provides commercial roof inspections for building owners and property managers across the Sacramento and Fairfield service areas, with complete written documentation and honest findings before any repair or replacement work is proposed. Get in touch with our team and we will schedule your inspection and deliver a complete report before any commitment is required.